Reduce, Reuse, Recycle…CRAYONS!
It’s the end of the year…you are cleaning out old school supplies and see piles, and piles of old and broken crayons. You wonder what to do with them because, you couldn’t possibly throw them away! You also can’t expect the new students to use OLD crayons in a new school year…so now what!?!
Here is how to make recycled crayons for student gifts! To help you start your collection, start by taking old, broken crayons at the end of each year and make them into new crayons for the new year!
I leave buckets around the room for students to drop their crayons in, whenever they break or are impossible to use. I also gather crayons from other classrooms to help my collection.
This post shows how I have decided to create crayons for my open house gifts!
Enjoy!
*This post contains affiliate links, meaning that every purchase helps to support this blog at no additional cost to you!*
How to make recycled crayons:

Step 1:
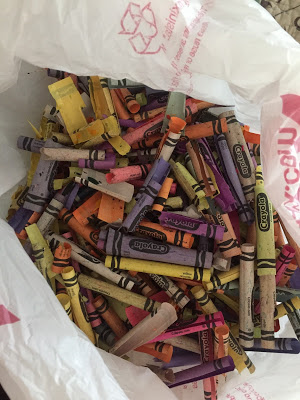
First, I peel the crayon wrapper using an XACTO knife! This is much easier to use than peeling with your nail, but be careful! I also read that you can get the wrapping off by soaking in water, however, I have not tried this method.
Step 2:
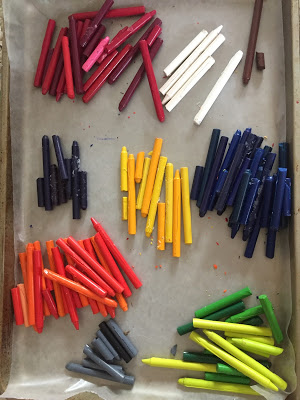
Then, I separate the crayons into color piles. For example, place the red/pink shades together, blue shades together, yellow/gold together etc. This helps create clean colored crayons rather than a strange mix of colors, but mix however you would like!
Step 3:
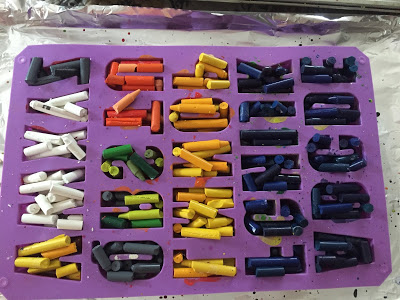
Next, I snap the crayons into several pieces and fill the silicone tray mold. The important part, is to fill the mold as much as you can. When they melt together, they will sink into the mold shape and you will realize you actually had more room!
Step 4:
To bake, I place the silicone mold on a cookie sheet that has been wrapped in tin foil. (you can find several molds on Etsy or Amazon) I have linked this mold I used here. TIP: The tin foil will catch any crayon shavings that may have fallen, and won’t leave crayon on your sheet!
Turn oven to 300 degrees to bake. The recommended temperature is 250 degrees or less, but I wanted to bake at a faster rate due to the amount I had. I would make one batch and feel out the temperature based on your oven!


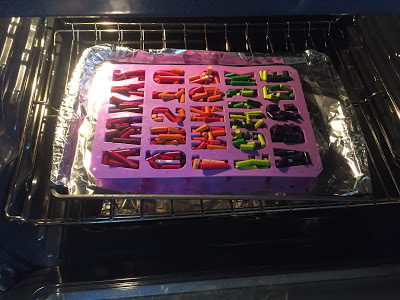
Step 5:
Last,remove after 15-20 minutes, or when crayons are sufficiently melted. Let them stand until the mold is no longer warm.
When the mold has cooled, place tray into the freezer. This will help the crayons cool all the way through, and help the removal from the mold.
Note: If you can still feel heat on the bottom of the mold, after they have been in the freezer; they are still not done!
Finally, gently remove crayons from the mold! Place them on wax paper to catch any extra shavings, and allow them more time to cool!
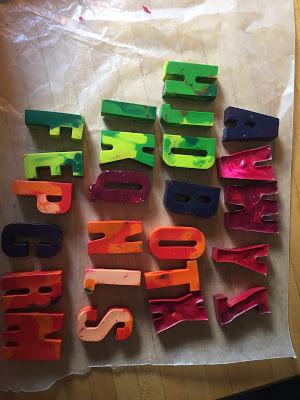
YAY! Repeat the process for more crayons!
To finish the gifts, I wrapped the crayons in cellophane bags, tied them with yellow ribbon and then added my tag! They were simple to put together, and cute!
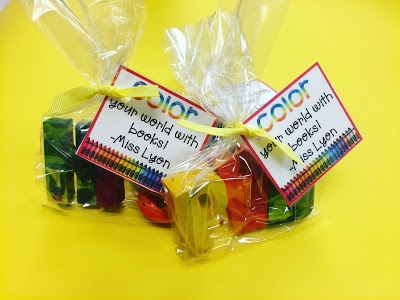
Let me know in the comments below if you enjoyed making these recycled crayons! I would love to hear from you!
Here are more gift ideas:
Mother’s and Father’s Day Gifts
End of the Year Gifts for Students


Leave a Reply
You must be logged in to post a comment.