Hello Teacher Friends,
Or should I say hello, multi-taskers, coffee drinkers, and wine connoisseurs! Something many of us have been focusing on lately is “self-care.” Meaning, taking the time to shut off our brains from school and focus on filling our glasses; to be the best people we can be. However, self-care can also mean pampering ourselves to feel beautiful inside- and out, not just binge watching Netflix and shopping in our pajamas on TPT (although that is a must as well)!
What gets us through our busy days and nights? For me it was COFFEE and tea, as well as, an occasional glass of wine! Yet, 2-3 cups of all of those things comes with a cost…my teeth weren’t beautifully white, like I hoped. Teeth stains are caused by so many things in our daily lives! I was using every whitening toothpaste and mouthwash under the sun! Yet, I knew a whitening kit was the way to go…but where to start!? I wanted to pamper my smile; a teachers best accessory!
That was when Smile Brilliant asked me to team up with them and test an at-home whitening kit! Although apprehensive, I jumped on the offer with excitement to get started.

The Kit
When the Smile Brilliant whitening kit arrived at my door, I was so impressed with the organization (made my teacher heart happy)! The kit included simple, step-by-step instructions for taking teeth impressions, sending the impressions back and how to apply the whitening/desensitizing kit.

Custom-Fit Trays
For me, this was a task that felt very overwhelming at first. I was nervous I was going to mess it up, and then not send in the correct impressions for the process. After putting it off a few days, I decided to open the kit and read about what I had to do. WOW! It was much easier than I thought, thanks to their detailed step-by-step instructions and photos. I even had extra mold supplies in case I did mess up the first round! Lucky me!
To create the impressions, you simply had to mix the gray and blue clay mold together, press them into the impression trays and bite. Both top and bottom molds were created in less than 10 minutes, and I didn’t come close to messing either of them up…did I mention how easy and detailed the instructions were to read? Once you have finished all the steps for the impressions trays, simple place them into the envelope provided and mail them back! Your custom fit trays are ready for the experts at Smile Brilliant!
Whitening Trays
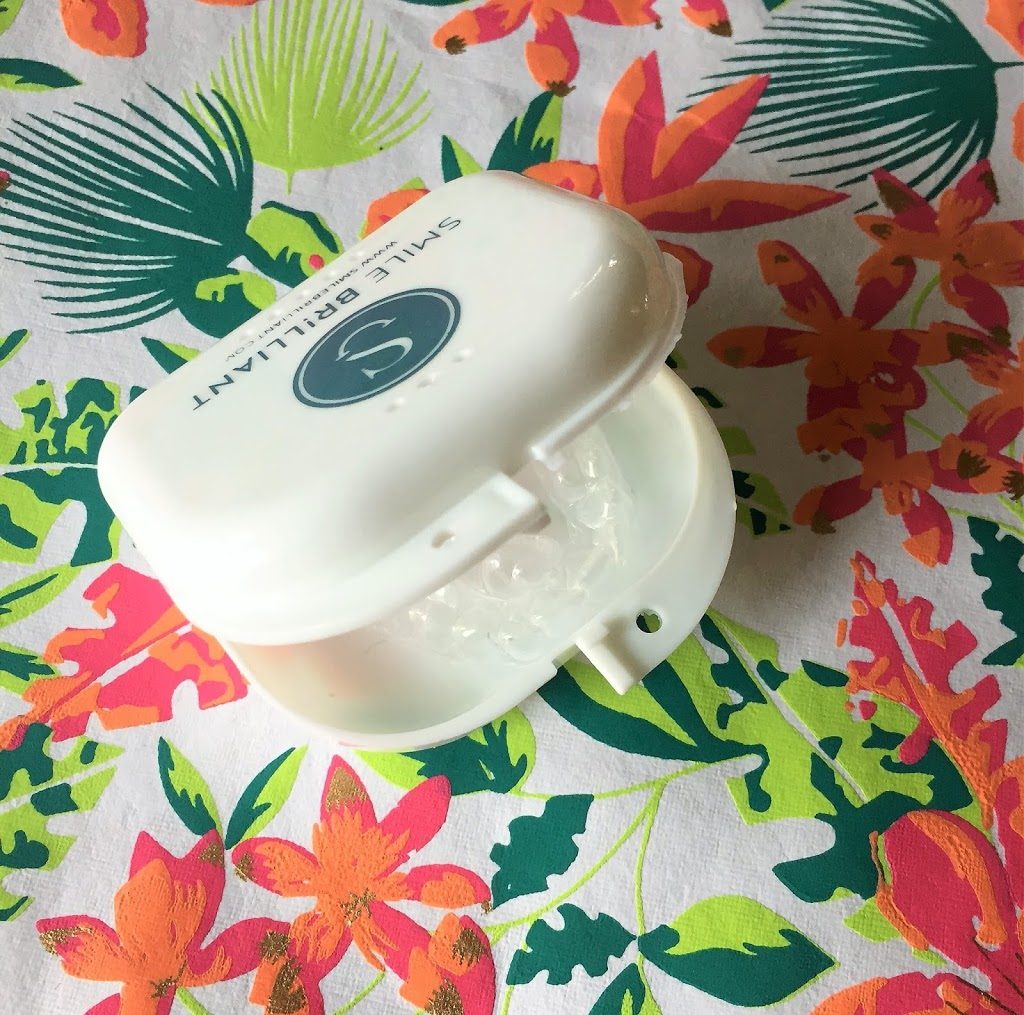
The custom-fitted trays arrived fast and I was so pleased with the quality and results! They fit easily and comfortably on my teeth. The trays are soft and easy to clean. They even provided a cute place to store them (another piece to make my teacher heart happy)!
Whitening
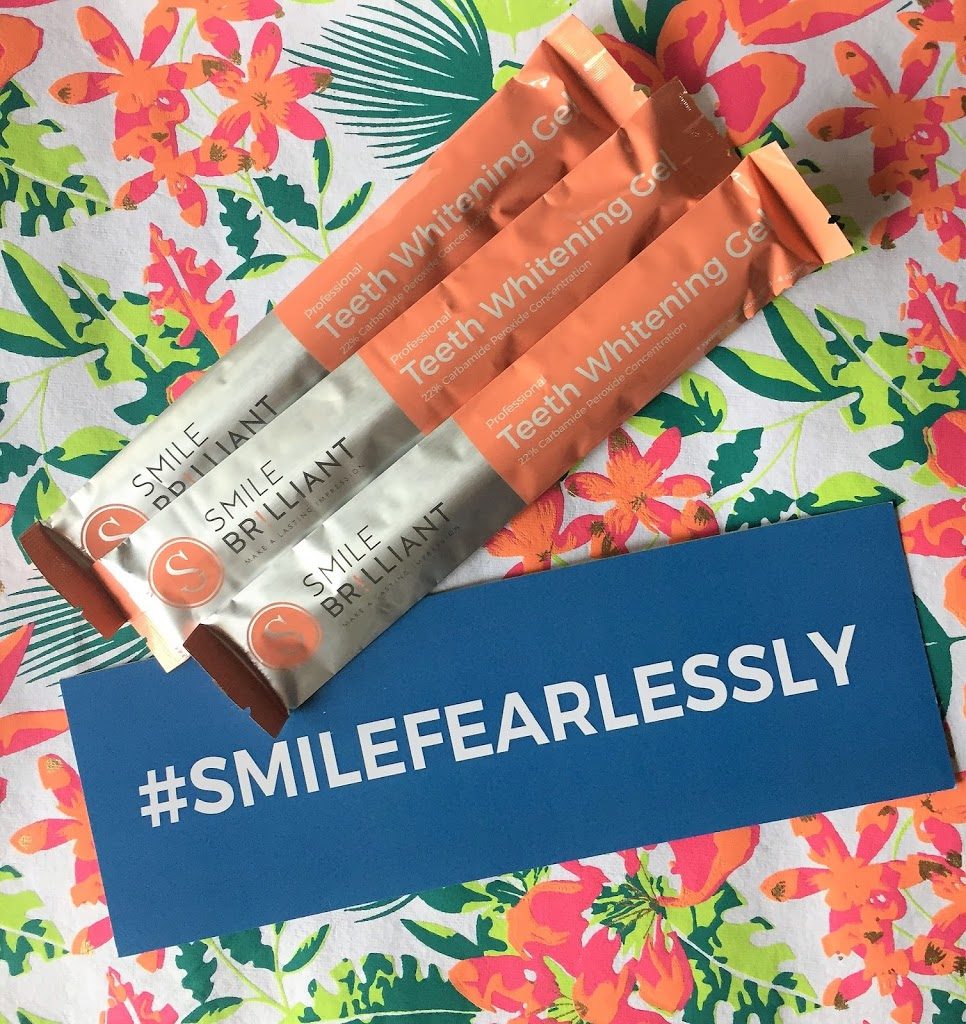
This part was super easy to accomplish thanks to their step-by-step instructions. I even had time to fit it into my busy schedule, because I added this to my nighttime regimen. What is one extra step before bed?! Simply, squeeze the teeth whitening gel into the trays for both top and bottom. Next, gently place them onto your teeth and leave them on for your comfortable time allotment of 45 minutes-1 hour! I even ran around and did other tasks while they were working their magic…multi-tasking! Smile Brilliant provided easy-clear instructions on how to properly place the trays onto my teeth, so I was whitening the appropriate area.
** Fun fact, I placed a very small amount of Vaseline on my gums to protect them from the process. Coconut oil could also be used to protect the gums!
Desensitizing Gel
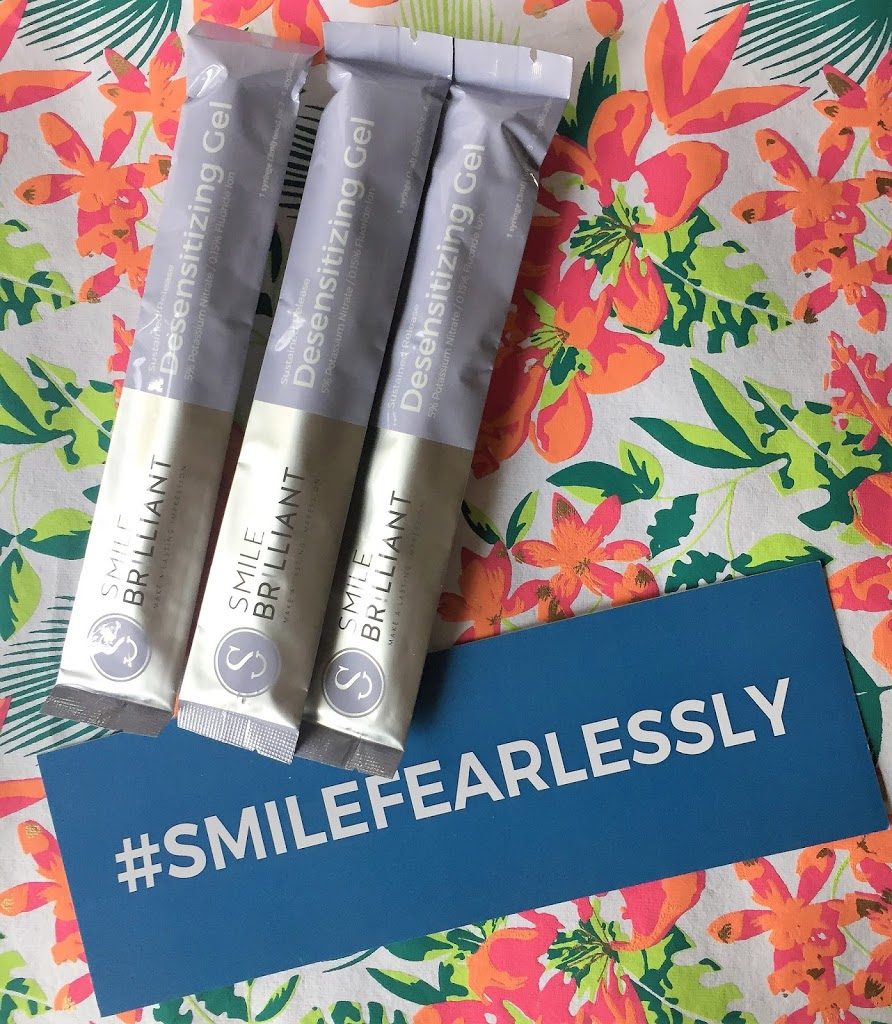
Since tooth sensitivity is common! Smile Brilliant provides you with desensitizing gel. Once your teeth and trays have dried, apply just as you did when you whitened, place the trays onto your teeth and apply for the allotted time (15-20 minutes). I experienced very minimal sensitivity during this experience, thanks to this step!
The Results
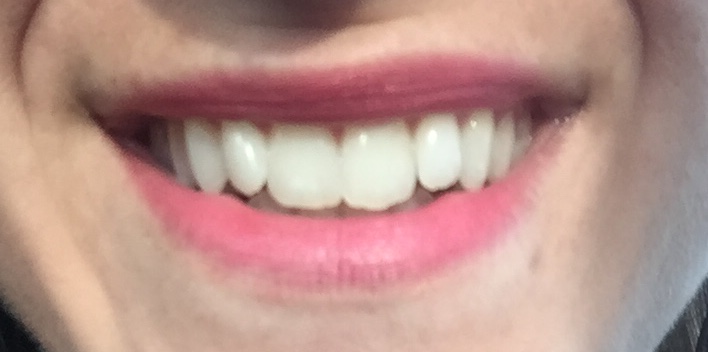
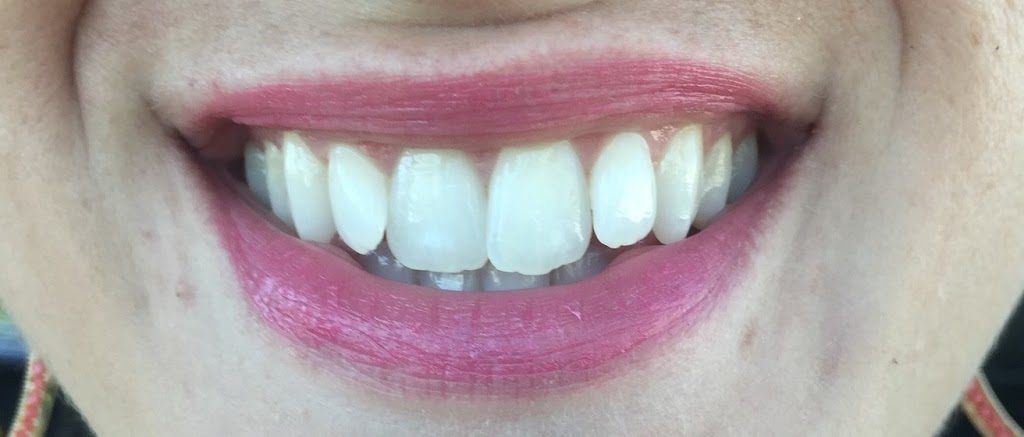
The moment you have all been waiting for! I didn’t realize that my teeth were as stained as they were! Smile Brilliant took care of stains I didn’t know I had, and couldn’t be reached with whitening toothpaste from the store. Here are my before and after shots after 10 applications:
Before
After
Review
The Smile Brilliant kit made it simple and easy to achieve the smile I always wanted! The team was very nice and easy to work with. They were with me every step of the way, and provided excellent instructions. In a busy schedule, the kit fit perfectly into my daily routine. The best part? Being confident with my smile and pearly whites!
Now it’s your turn for a….

COUPON & GIVEAWAY DETAILS:
15% off coupon code: coloringincardigans15
Giveaway link: www.smilebrilliant.com/g/coloringincardigans
– The giveaway is for a $149 Smile Brilliant credit. It is open to USA, UK, Australia and Canadian residents.
– Be sure to enter your email to be entered!
Tooth Whitening Gel


Leave a Reply
You must be logged in to post a comment.